How to Create Facebook Ad Mockups with Sendpreview
Learn how to create a free facebook Ad mockup using Sendpreview and share with your clients for review.
Hi there, in this article you’ll learn how to create a free facebook Ad mockup using Sendpreview and share with your clients for review.
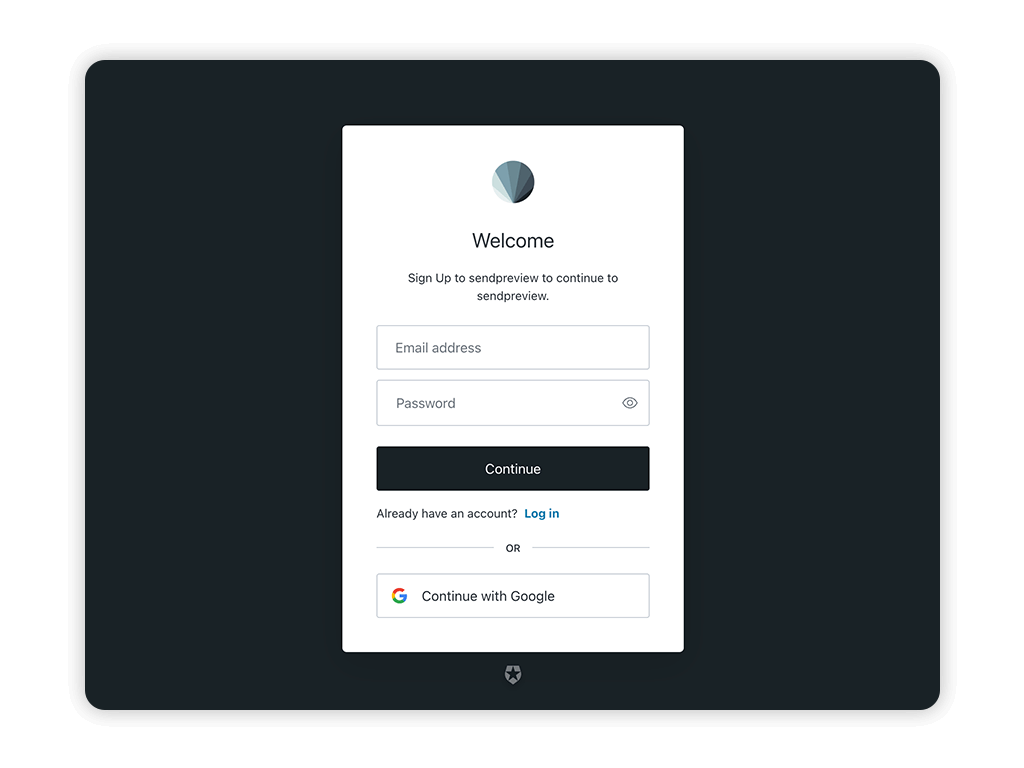
Step 01 - Setup new free account
Create a free Sendpreview account using your email or gmail auth0 login.
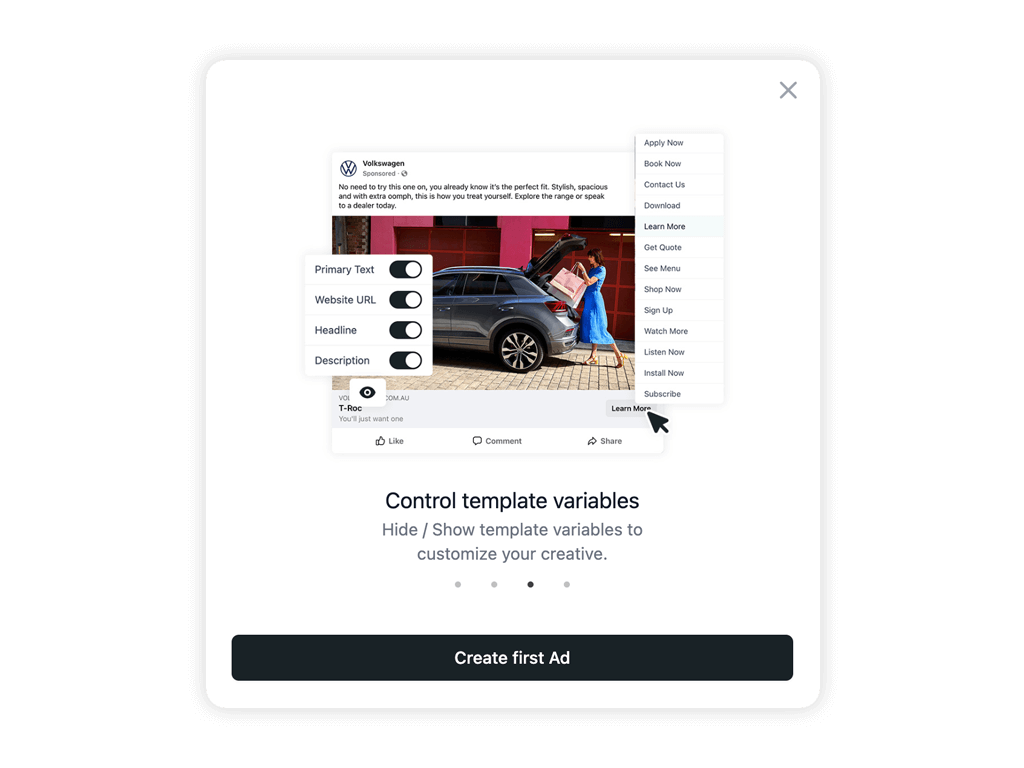
Step 02 - Intro slider on first login
Once you've login, you’ll see a quick intro slider panel that gives you a basic understanding of the platform. Once you’ve had a skim through, you’ll be ready to hit the button “Create first Ad”.
Step 03 - Create new Ad
The "Create new Ad" menu will pop up and follow these steps to generate a new Ad template.
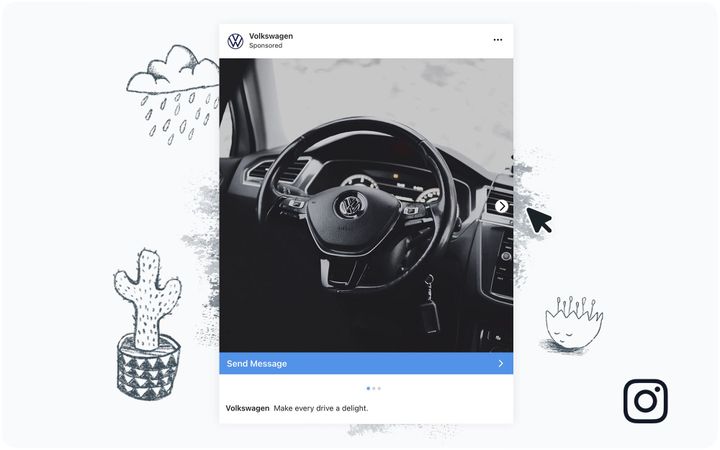
01 - Select your media type which will be Facebook.
02 - Select Format - In this case we are selecting “Single Image”
03 - Select Dimension - Let’s go with a Square 1x1 format (1080x1080).
04 - Hit the button “Create new Ad”
Step 04 - Add your Facebook Ad content
Time to populate your new Facebook template with your Ad content.
01 - First click on the canvas area of the Ad and upload your image asset.
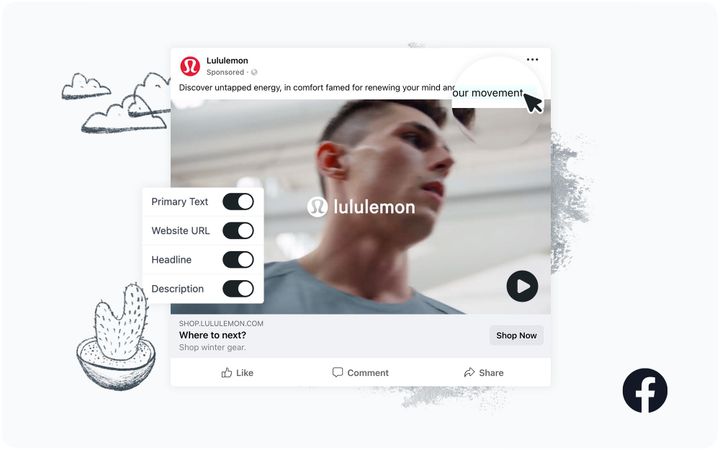
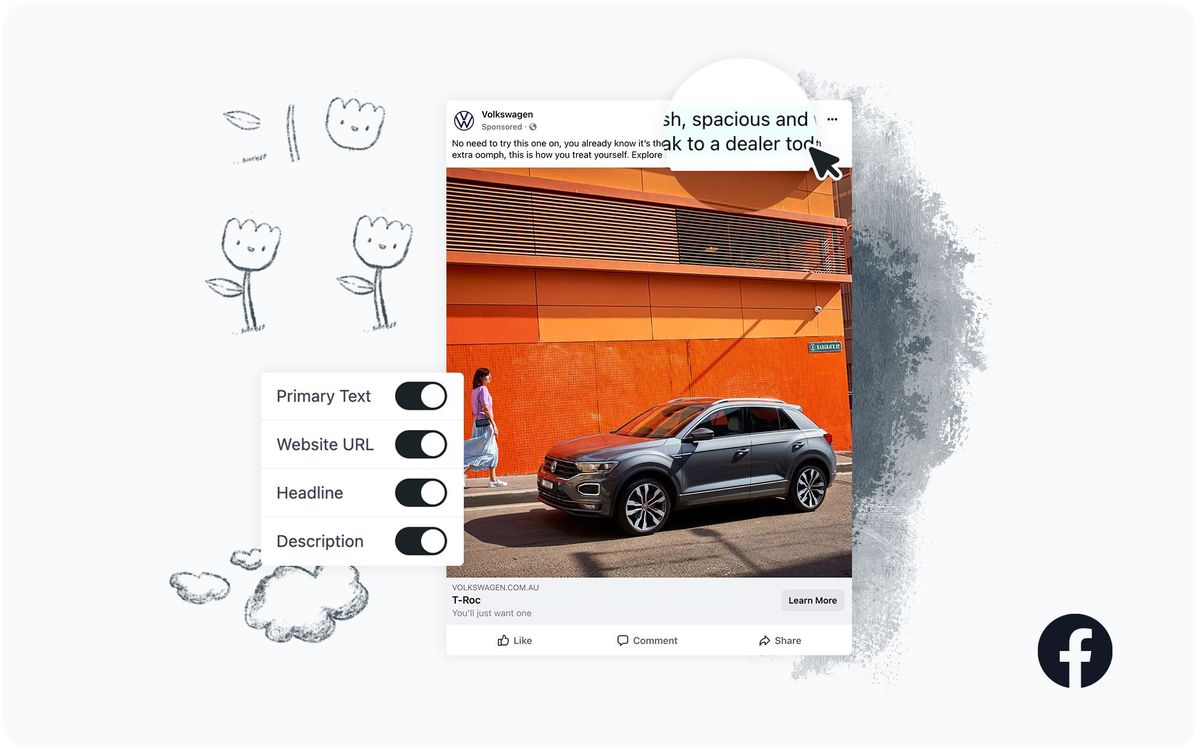
02 - Then click on the “Primary Text” and begin writing your primary text. Hit enter once you are happy with copy. You can also copy and paste from your clipboard.
03 - Repeat the process for the WebsiteURL.com, Headline and Description fields.
04 - Click on the CTA button and use the dropdown menu to change the CTA variable to your preferred option
Tip - You can toggle on and off variables within the Ad if you do not wish for them to appear on the Facebook Single Image Ad mockup. For example the description might not be something you want to show in the Ad mockup.
Step 05 - Final adjustments
Here are some final adjustments to the Ad mockup.
- Update Create Ad name - Click and edit “Creative Ad Name” At the bottom of the Facebook Ad mockup.
- Update Campaign Name - Click and edit “Campaign Example” and update to your new campaign name.
- Update the Brand details - Click the home icon button in the sidebar. Then click the three dot icon to edit the brand details. You can then update Brand name and upload the new logo.
- Once your brand details have been updated. Re-open the campaign you’ve just created.
Tip - The new brand logo will pre-populate every Ad created under this brand.
Step 06 - Share preview link with your client
Once you are happy with how the Facebook Ad mockup is looking. You can click to the Share button at the top right of the platform.
Grant public access so you have the ability to share the Facebook Ad mockup with your client. Switch off public access if you're still in concept mode.
Then copy the URL link to your clipboard and share with your clients via email or a messaging program (Slack, Teams etc).
Tip - You can make future edits to your Ad creatives and the share campaign URL will automatically be updated. You will only need one URL per campaign, it’s always up-to-date and no need to generate a new multiple URLs.
Tip - These preview links will work both on Desktop & mobile devices and gives you a realistic preview on how the final Ad will look on both devices.
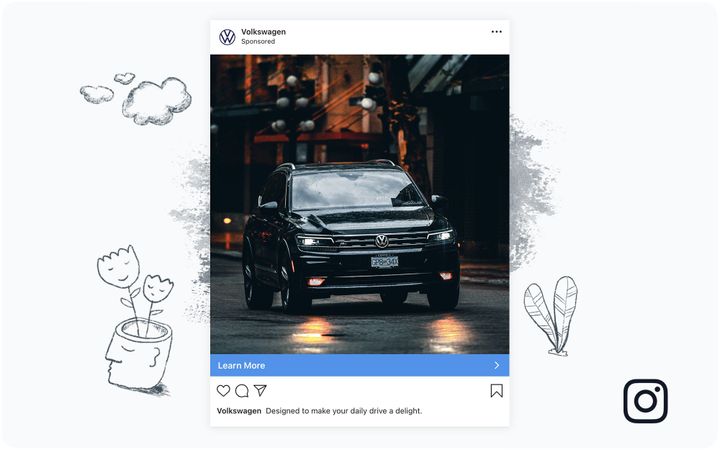
Here is the final result of how the Ad mockup will look once you’ve finished setting up your first Facebook Ad mockup with Sendpreview.
That's it for this post. I am excited for you to try Sendpreview to create your first Facebook Ad mockup. Feel free to reach out to me with any questions.